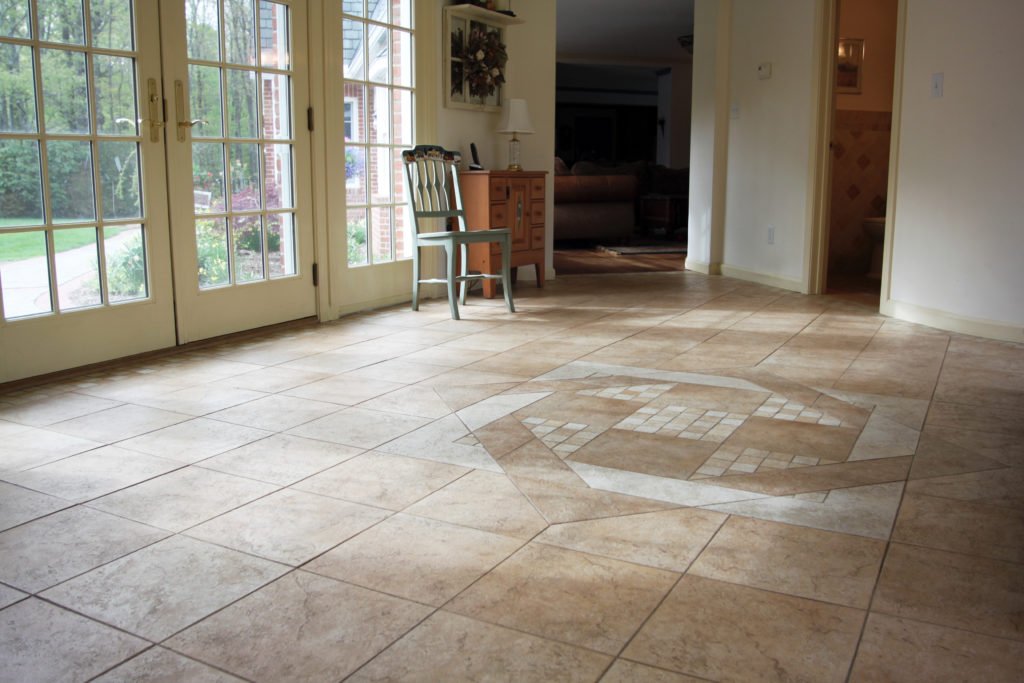
Are you planning to change the look of your home? Then changing the tile flooring will be one thing that you can do for changing the appearance of your surroundings. The porcelain wood tile flooring is a thing that can bring a great effect on your floor. Actually the porcelain looks like the wood tile flooring thus known as wood look porcelain tile flooring. A large number of designs and styles are available in porcelain tiles. Not only the abundance of designs, but also plenty of colors are also waiting for you in porcelain tiles such as various brown colors, white, black etc. Wood looking porcelain tiles can be obtained in different widths and lengths. They are equally popular in commercial and industrial sectors. The realistic wood texture and finishes of tiles is the specialty of these wood like tiles.

So one can easily choose his required one. You can lay the porcelain wood tile flooring by yourself. Here I’m going to share some beneficial tips for all of you, who want to change their current boring floor by setting porcelain wood look tile flooring. Because only the careful preparation leads to towards successful job.
Preparing the Installation Plan
First, you should create an installation plan because plan is the base of everything. The plan should allow you to exist from the room without walking on the tiles or mortar cures.
Then make sure that appliances have enough space to fit under the cabinets or countertop once you install the tiles underneath. Empty the room by moving out all your appliances and arrange them properly because installation may take time like 2 to 3 days.
Prepare your subfloor. The surface should be smooth, neat and clean (Mop and vacuum it). If you have old vinyl flooring, then remove it first by calling some pro. For wood subfloors, make sure the panels are securely attached to the floor joists.

Installing the Substrate
Now prep the doorjambs to fit the new tile. Stack a floor tile on a piece of the substrate. Place them aligned with the jamb and mark the height. Cut the jamb about 1/16 inch above the tile. Cut doors 1/8 inch above the tile. Open the uncoupling membrane across the floor and cut it to length.
Read the product instructions and set the membrane aside and mix latex Portland cement mortar. Spread it. If you are lying the tile floor in kitchen, then waterproofing the seam is a good idea
Mix some unmodified thinset mortar according to the product instructions, spread it across the seams and press the waterproofing band over the mortar. Make some thinset by mixing unmodified thinset mortar. Cut out any floor registers. Allow the thinset to cure.

Laying the Tile
Measure from the center of the room to the starting wall, then subtract the 1/4-inch expansion gap and the width of two tiles and two spacers. You can make adjustments and re-snap your starting line if needed. Check for square.
Follow the directions and mix un-modified thinset mortar for large-format tiles. It should have peanut butter consistency. You may work toward a doorway to avoid getting stuck in a corner.
Force down and twirl the tile into the mortar along the straightedge. The tile should compress the ridges the trowel created in the mortar. Mark and cut planks with a tile cutter or wet saw. Keep 1/4-inch expansion gap at the wall and a 1/8-inch spacer. Apply a tile sealer, following the manufacturer’s directions. In the end wipe the grout lines with a clean, wet sponge.

